
Board + Batten Wainscoting
I have been loving the look of board + batten wainscoting that is covering my Pinterest feed. I have dreams of our entire first floor having this throughout all the walls and plan to make that happen someday soon! But since we had never done it before, I decided to give it a try in a small space! And our new nursery was the perfect place to try! We loved how it turned out so much that we did our upstairs hallway as well and will soon be doing more spots throughout the house!
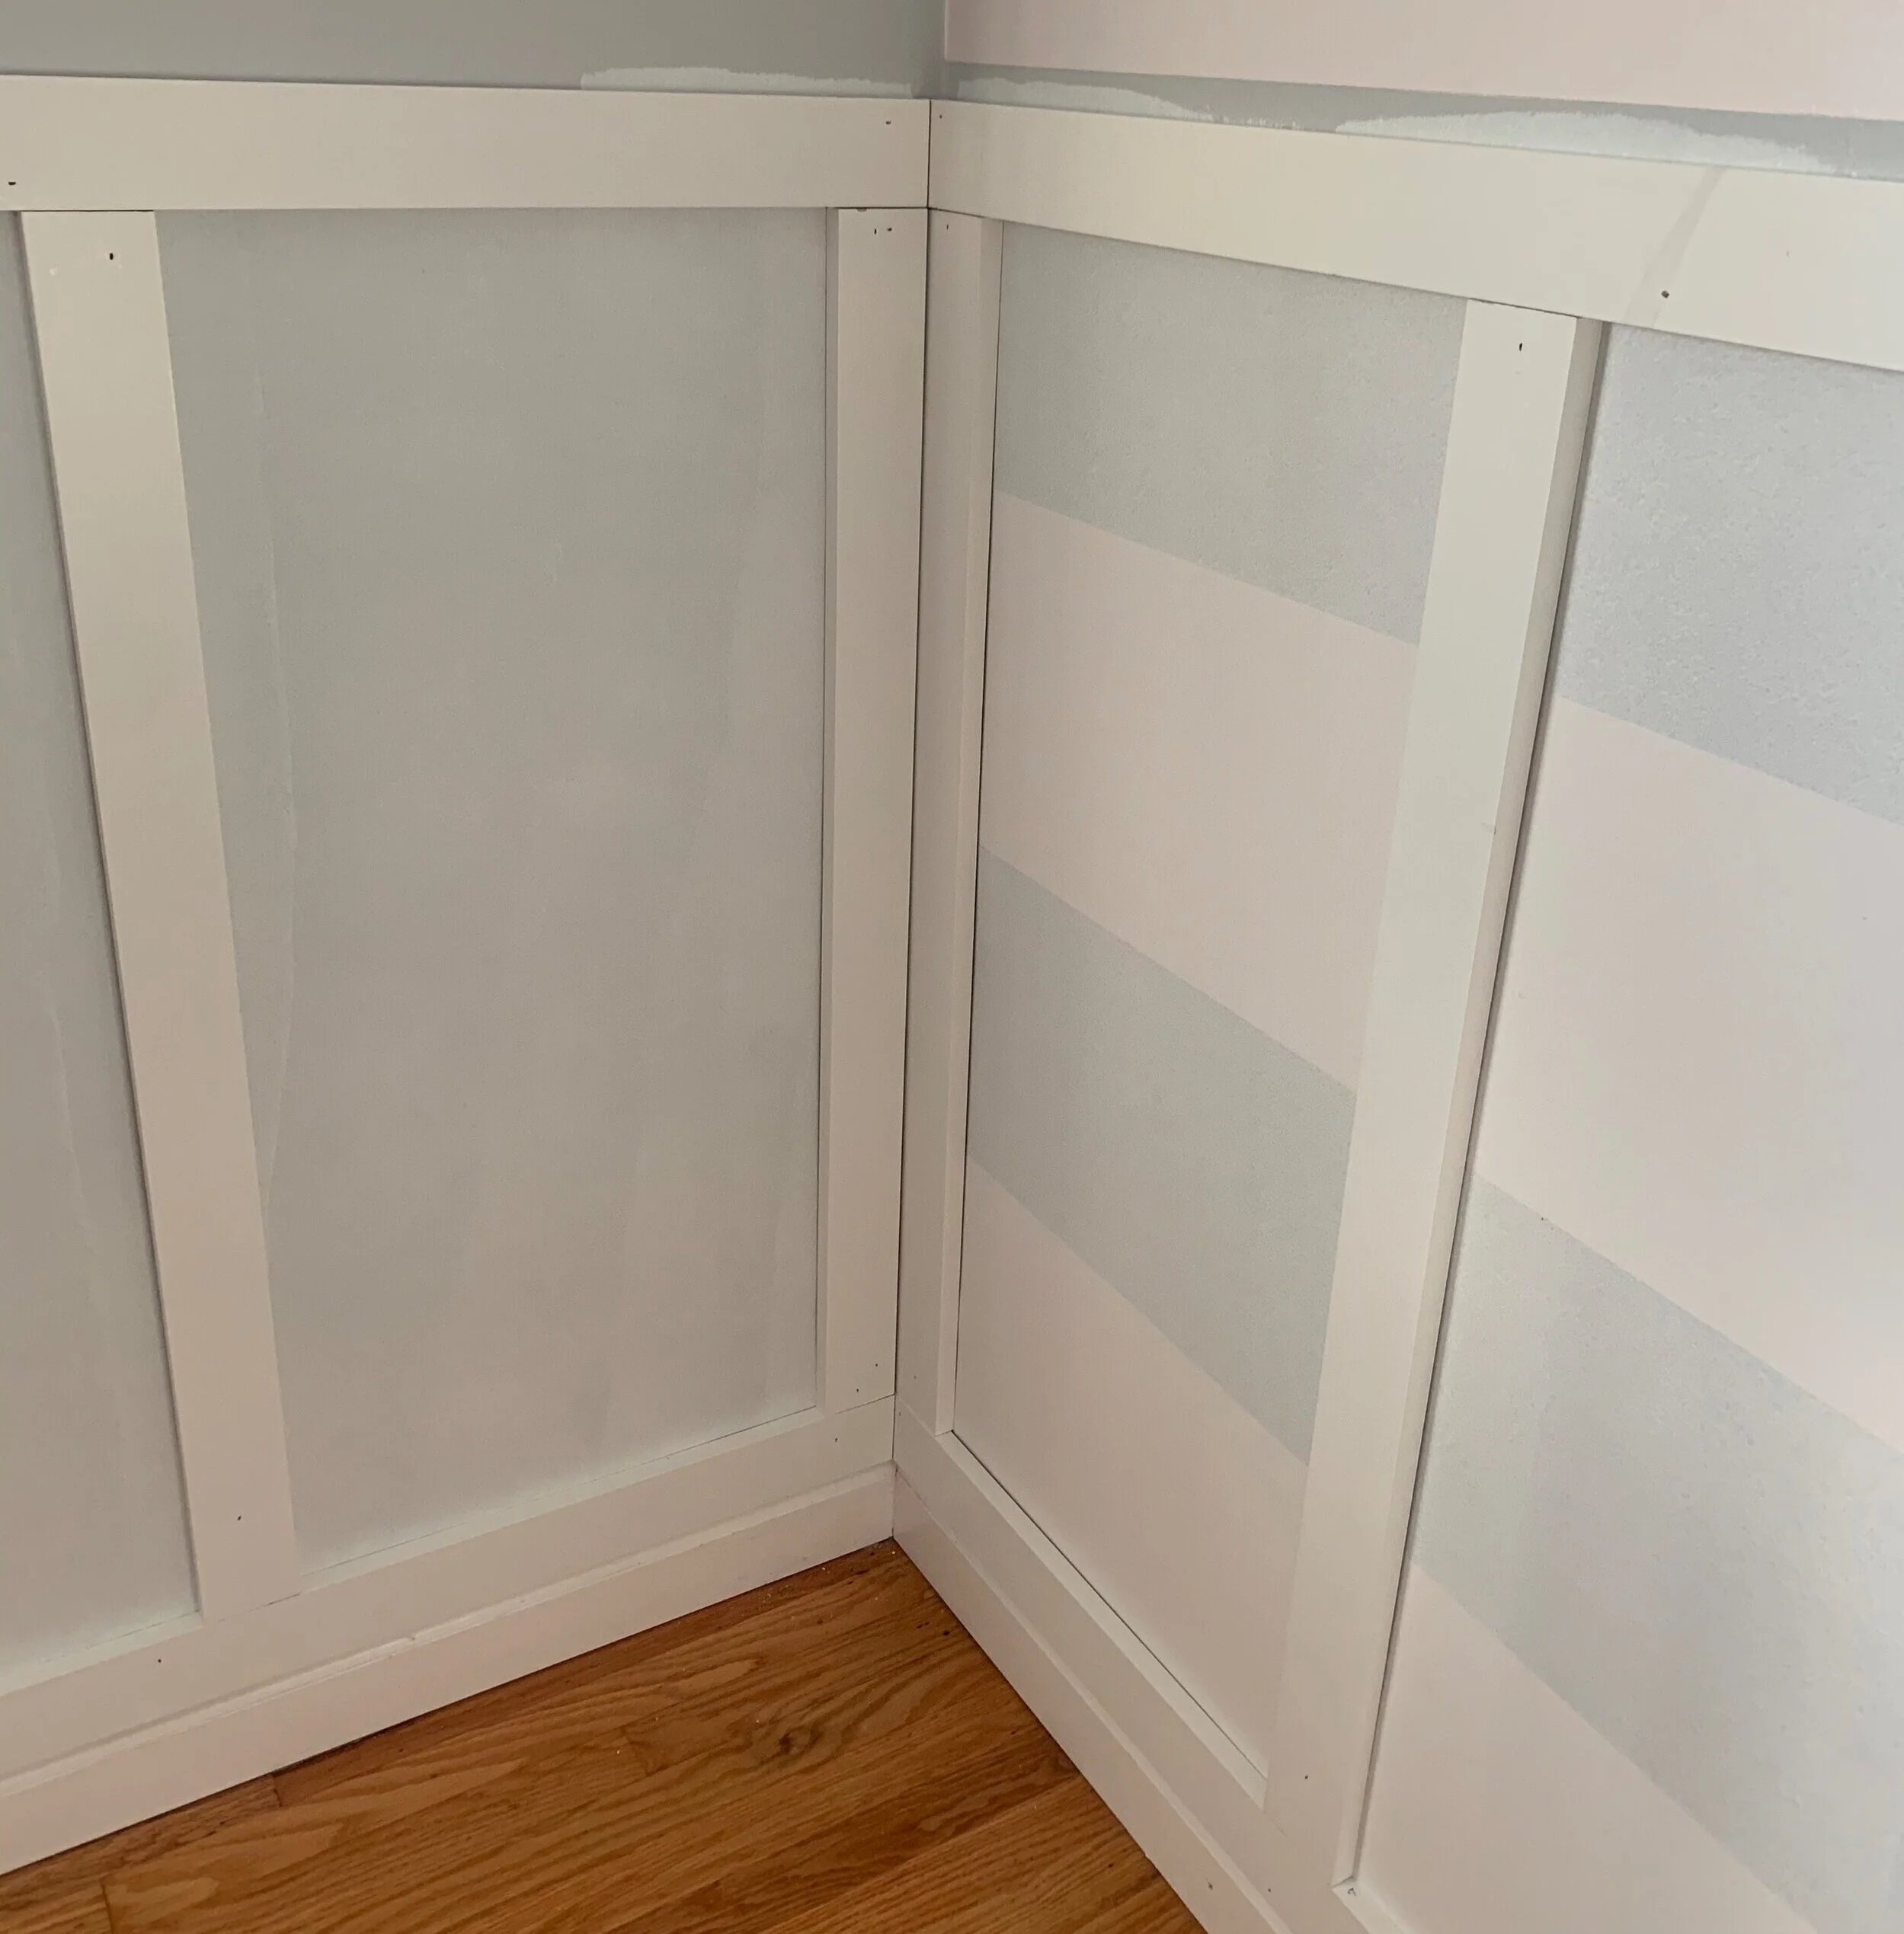
One thing we learned is that there are so many different ways to do this style wainscoting! You can customize the size of the boxes, the width of the wood and so much more, making this a very flexible style! The hardest part was actually figuring out the spacing on the walls to make the boxes even! We learned that in order to make it work for different length walls throughout the room we needed to have a couple boxes that were slightly smaller in width, however the difference isn’t noticeable!
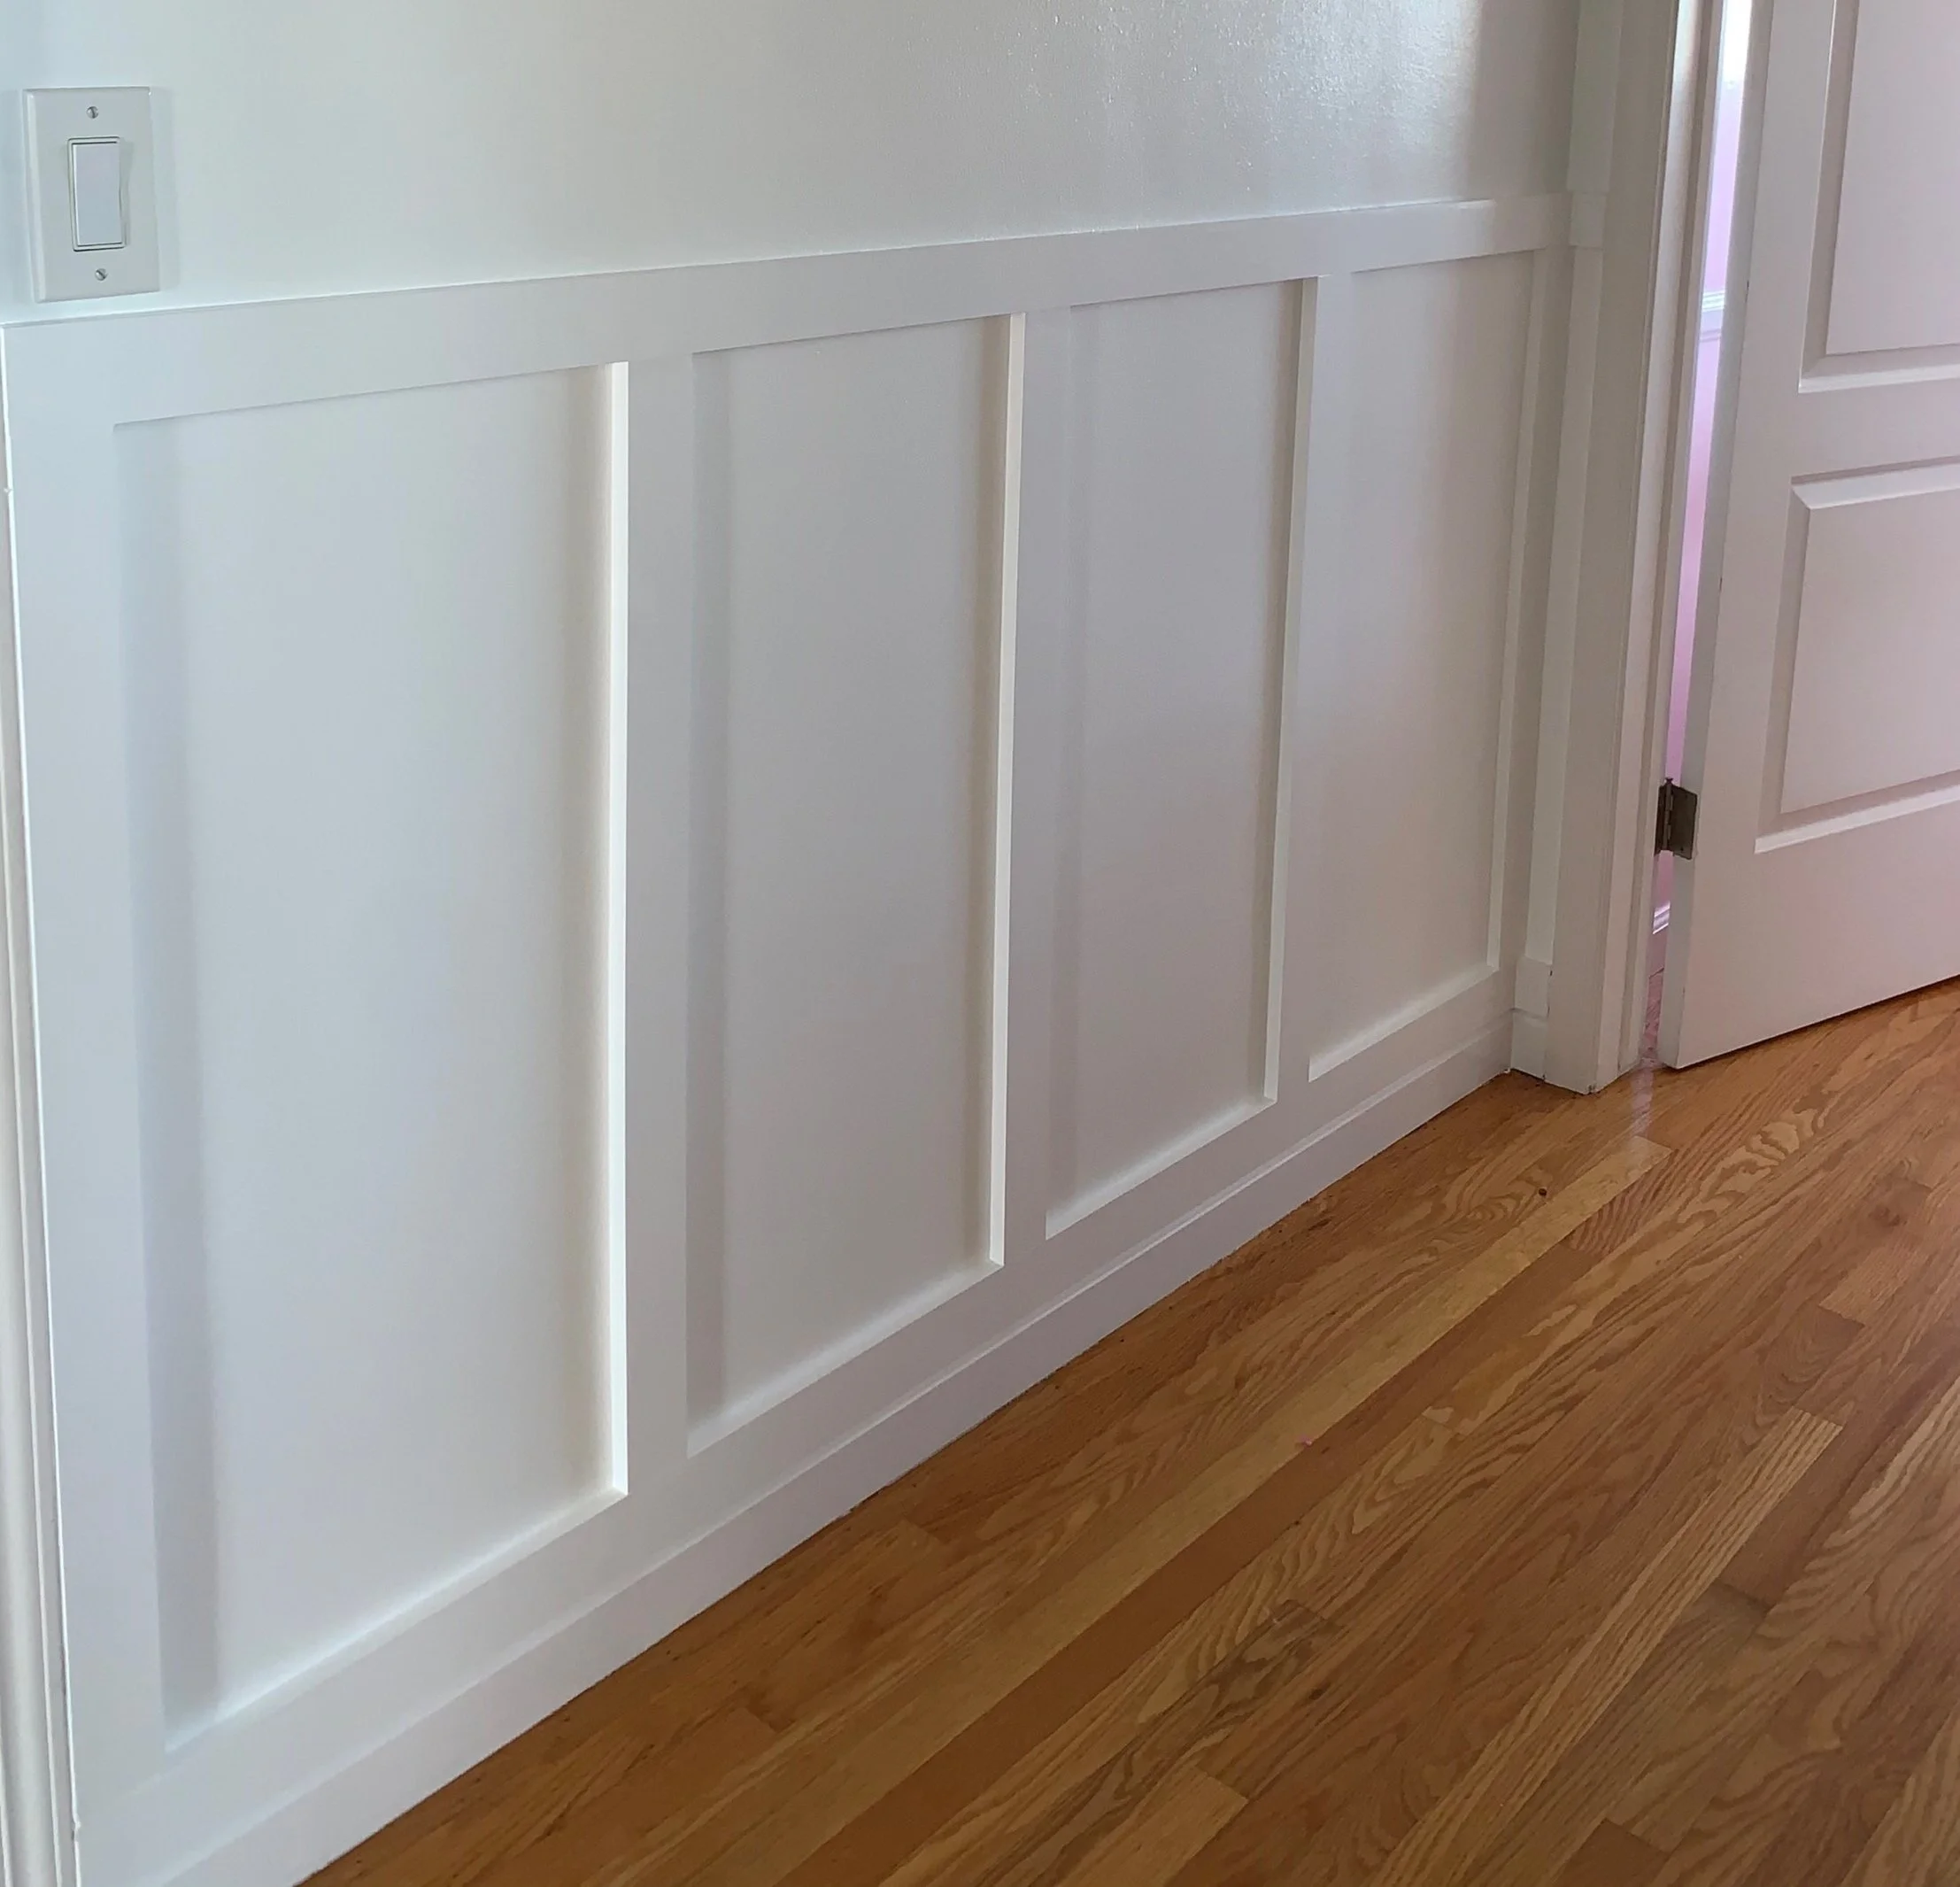
We also decided to keep the original base molding up and to do the board and batten sitting on top of it. It ended up adding a cool detail along the bottom! A lot of people will also add a top rail to their molding. We planned to do this but my husband forgot to account for that in the amount of molding we needed and didn’t buy enough. Once we got it all up I decided I was happy with how it turned out and we didn’t need it! We also decided to do the molding directly on top of the drywall instead of adding any kind of paneling behind it. In the future I will likely add a piece of flat paneling behind it to give it a smoother finish.
Our first step was to measure all the walls and decide on the size of the wainscoting. We picked a height we liked and a width for the boxes that also worked with the dimensions of the room. Then we added up all the dimensions to figure out how many feet of molding we needed. We chose to use these white primed MDF boards that were light and easy to paint.
We added the top and bottom rails first, making sure they were level. Then we measured and cut the vertical pieces to make the boxes. Each vertical board was a slightly different length because our floors were crooked so we needed to measure and individually cut each one.
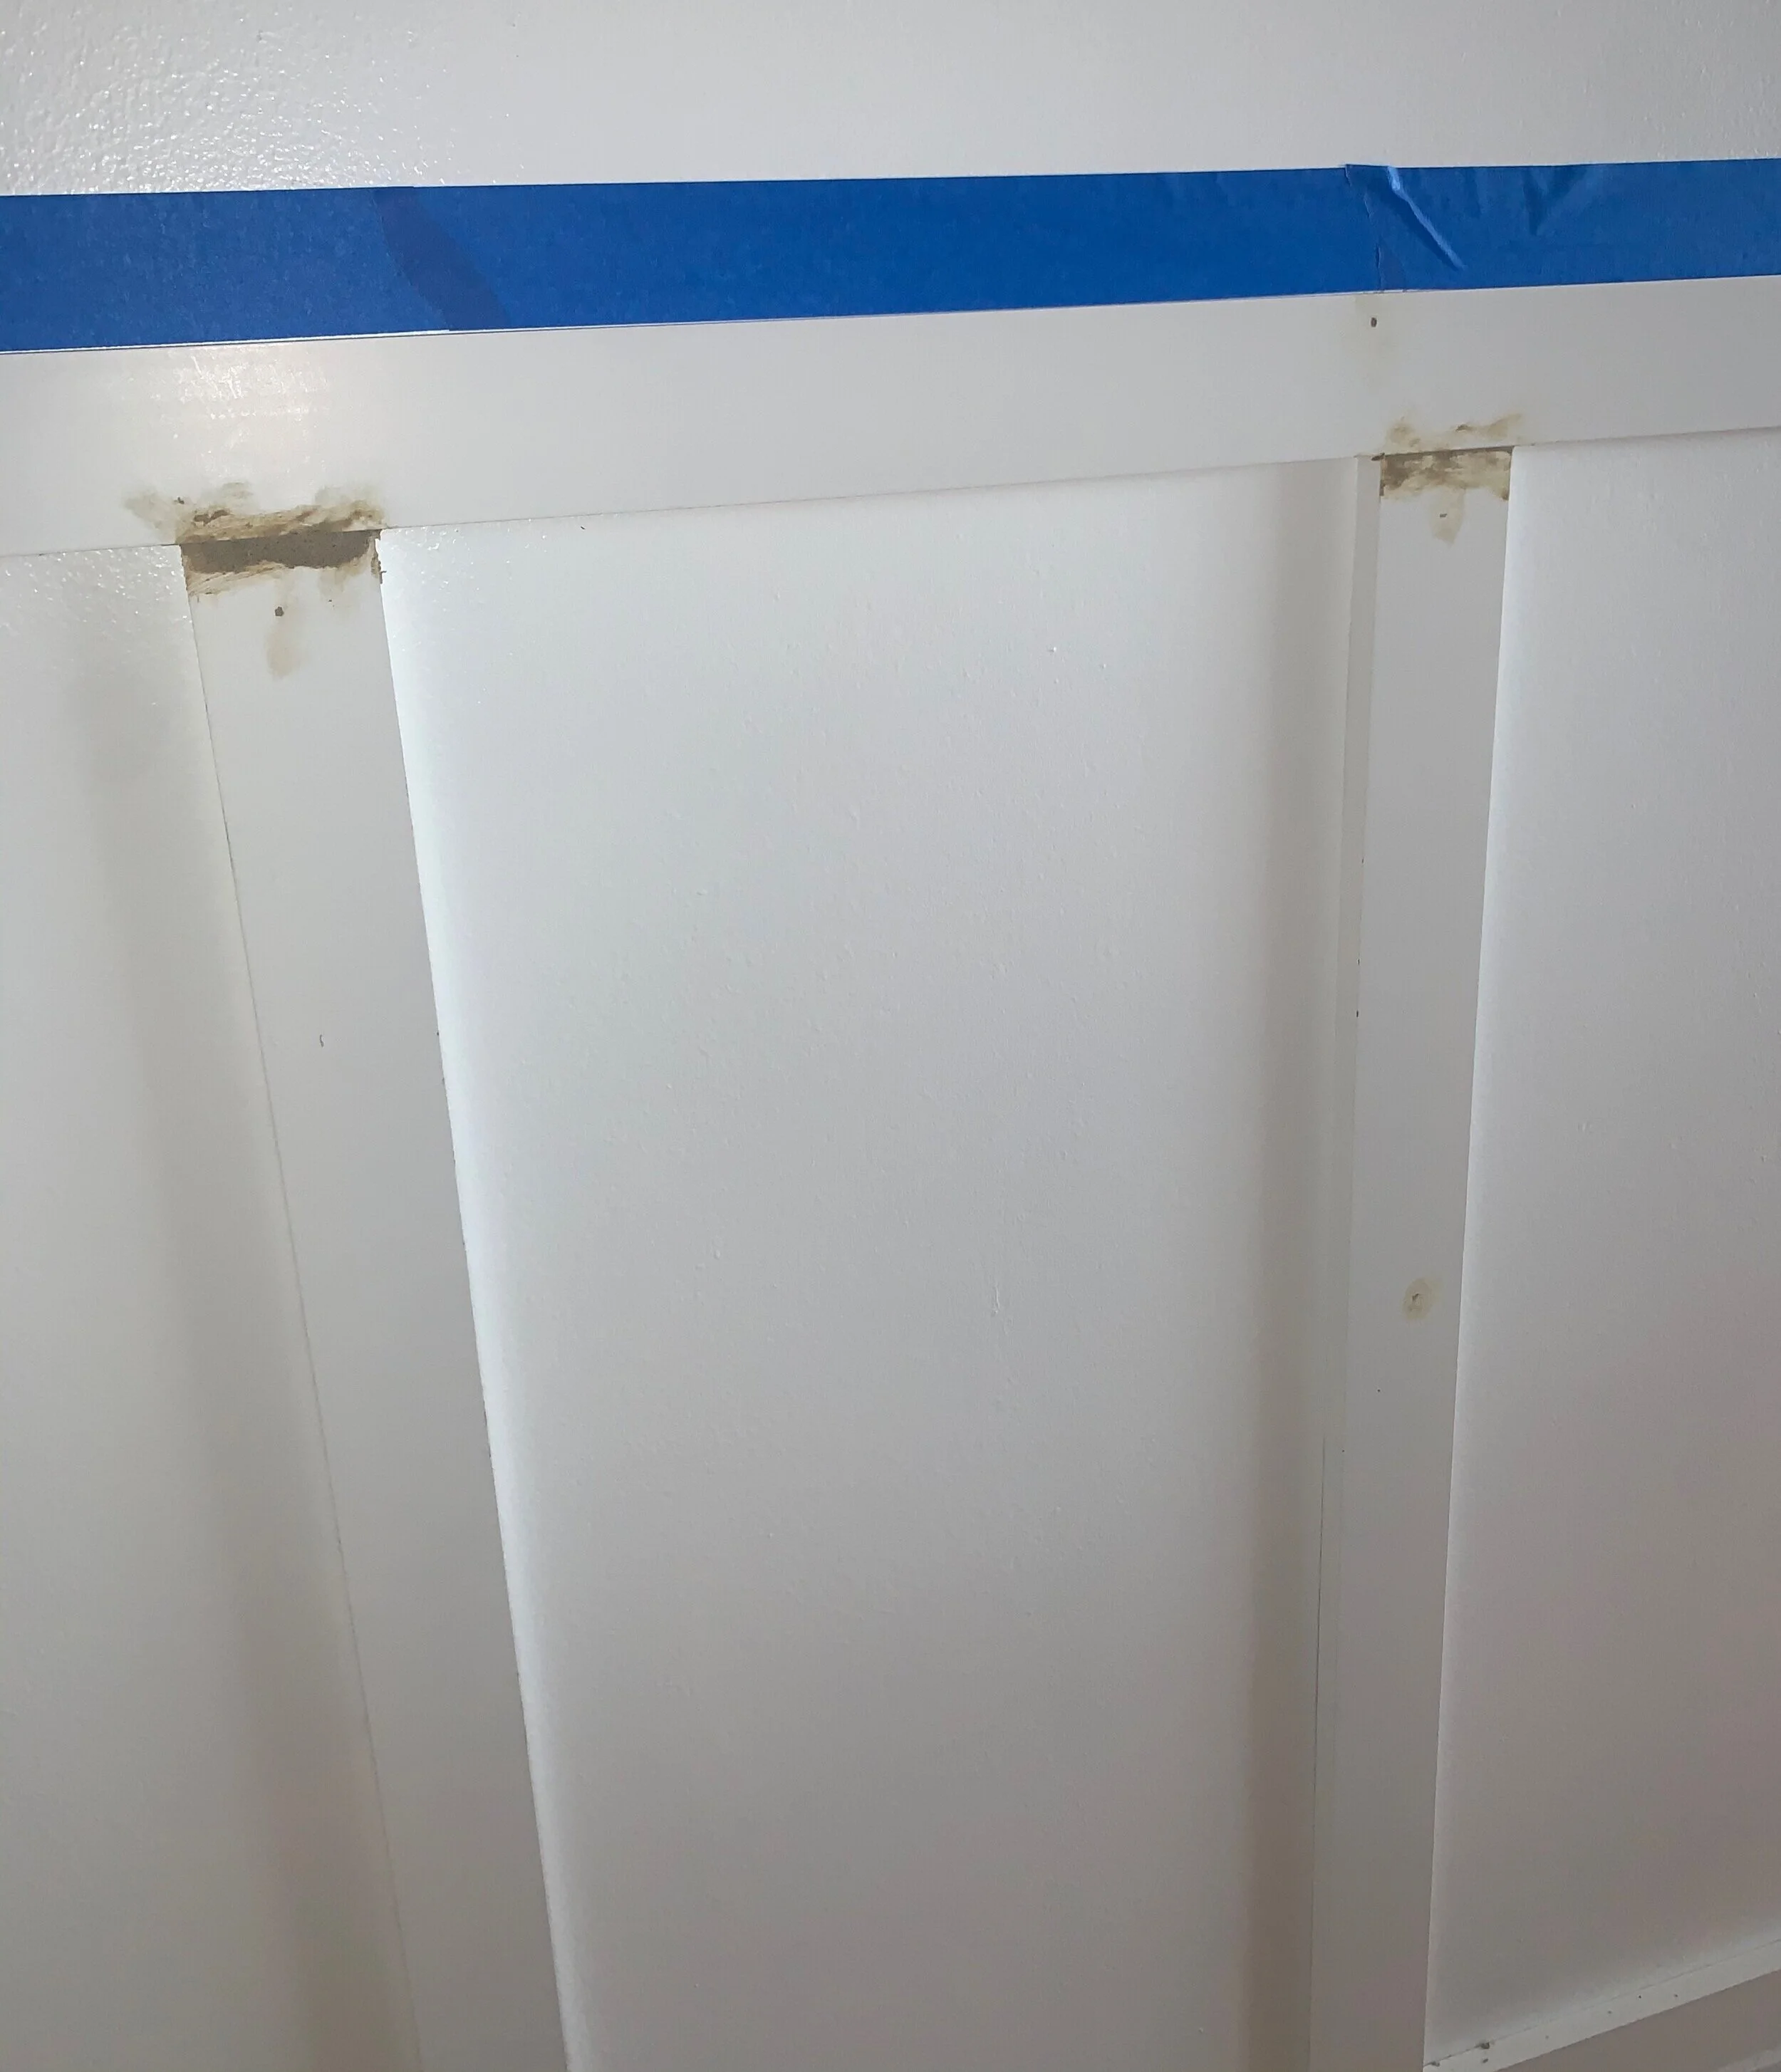
After all the boards were nailed up on the walls we caulked each of the creases and used wood filler for the nail holes. I prefer to use wood filler for holes because I think after sanding it has a smoother finish.
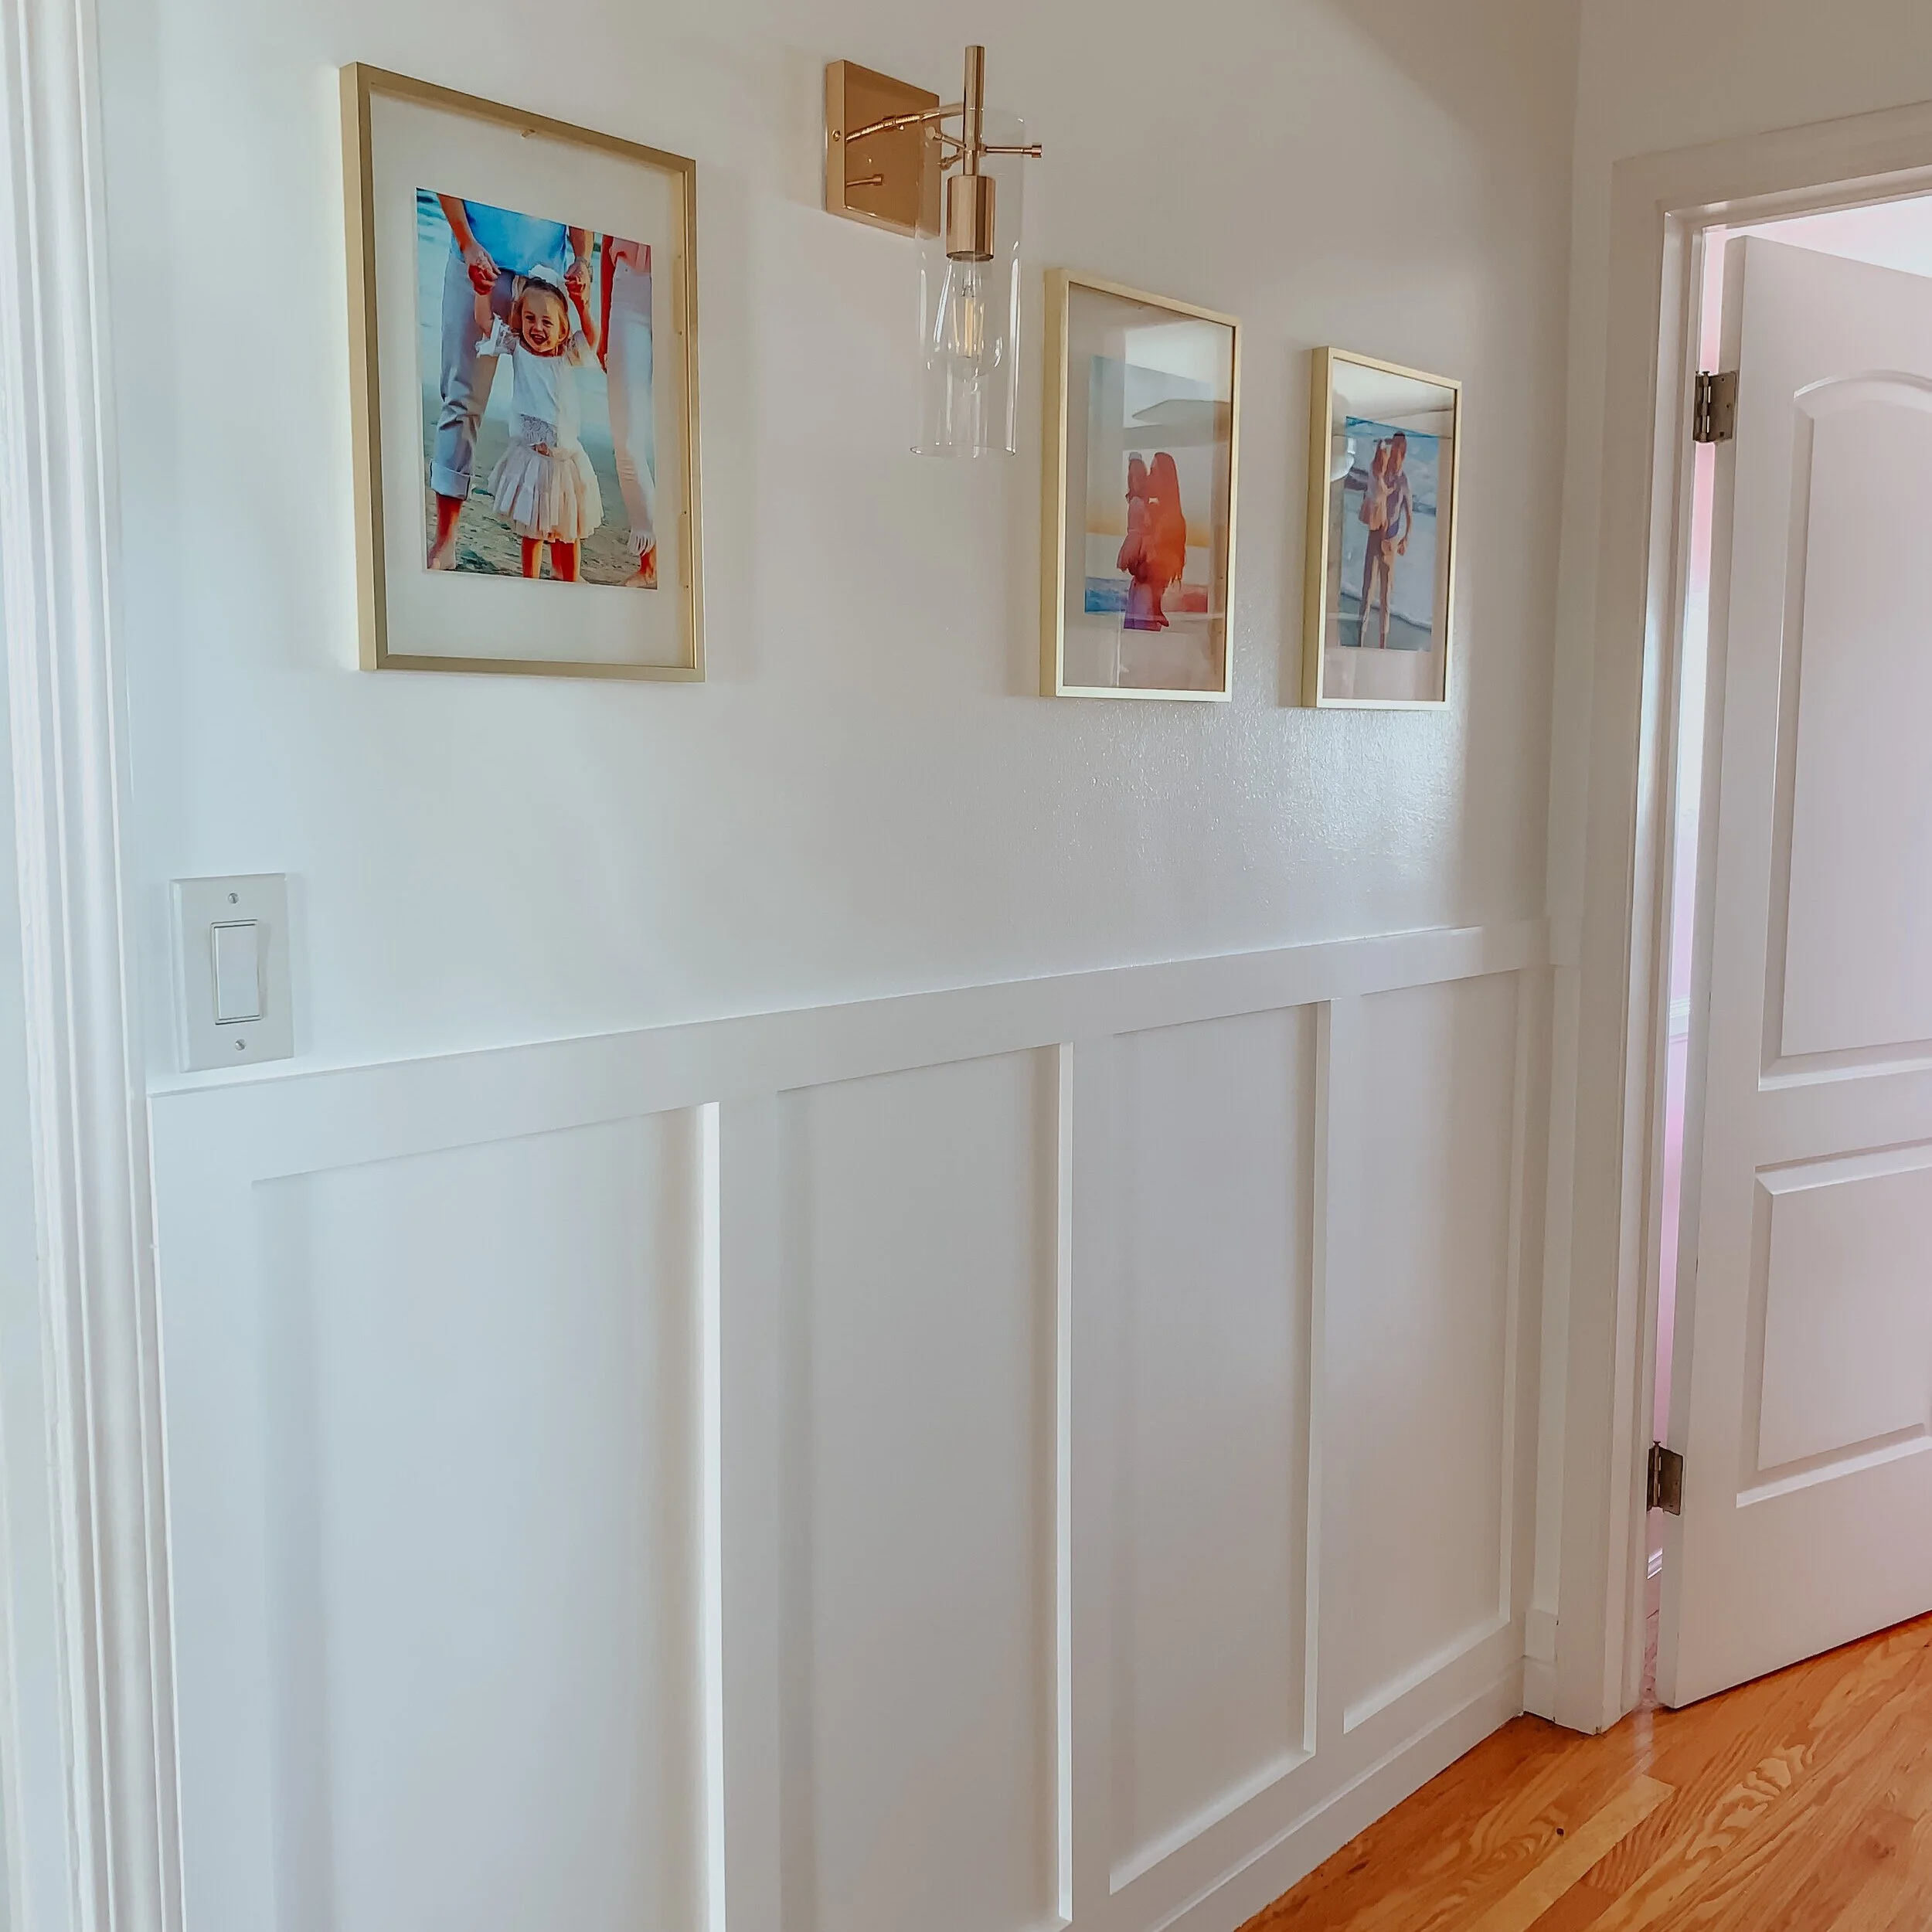
Once all the seams and holes were filled it was time to paint! We used a semi-gloss paint for the wainscoting to give it a slight sheen. You can see the finished product below.
I’m so happy with how it turned out and can’t wait to do more of this in other areas of the house!